
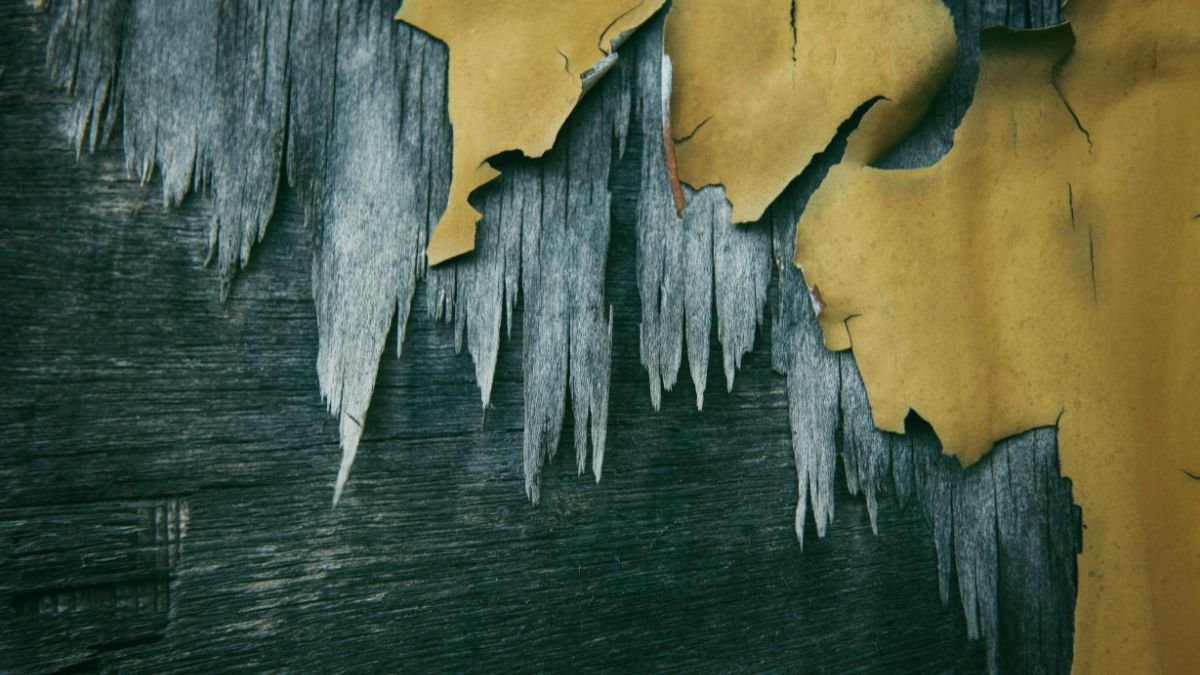
Peeling paint is one of the most common bathroom problems homeowners face. It usually starts with a small bubble or crack, but over time, the paint begins lifting away from the wall. If you ignore it, moisture can seep into the drywall, leading to mold, mildew, and expensive repairs.
The good news is that How to Fix Peeling Paint on Bathroom Walls isn’t as difficult as it may seem. With the right preparation, quality materials, and a little patience, you can restore your bathroom walls and create a finish that stays beautiful for years.
Many people make the mistake of simply painting over the damaged area. While that may hide the problem for a short time, the peeling almost always returns because the root cause was never fixed. A long-lasting repair starts by identifying why the paint failed in the first place.
In this guide, you’ll learn the most common causes of peeling paint, the tools you’ll need, the exact repair process, and expert tips that help prevent future damage. Whether you’re repairing a small patch behind the sink or repainting an entire bathroom, this guide will help you achieve professional-looking results.
Table of Contents
- What Causes Bathroom Paint to Peel?
- Signs Your Bathroom Walls Need Repair
- Tools and Materials You’ll Need
- How to Fix Peeling Paint on Bathroom Walls
- Choosing the Right Primer and Paint
- Expert Tips for Better Results
- Common Mistakes to Avoid
- FAQs
- Conclusion
- Key Takeaways
What Causes Bathroom Paint to Peel?
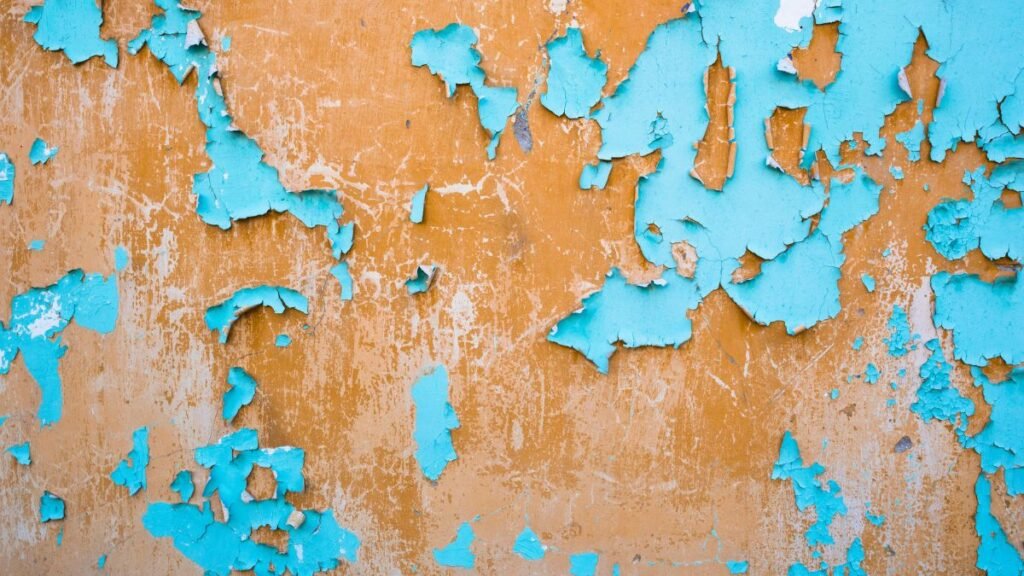
Before you pick up a scraper or paintbrush, it’s important to understand why bathroom paint peels. If you don’t solve the real problem, the new paint may begin peeling within months.
Bathrooms experience more moisture than almost any other room in a home. Every hot shower fills the air with steam, and without proper ventilation, that moisture settles on the walls. Over time, the paint loses its bond with the surface underneath.
However, humidity isn’t the only reason paint fails. Several factors can work together to create the perfect conditions for peeling.
Excess Moisture and Humidity
Steam is the number one enemy of painted bathroom walls.
When warm, moist air remains trapped inside the room, tiny water droplets collect on painted surfaces. Eventually, moisture works its way beneath the paint film, weakening the bond between the paint and the drywall.
If your bathroom mirror stays foggy for a long time after every shower, chances are your walls are holding that moisture too.
Common signs include:
- Paint bubbles
- Peeling edges
- Soft drywall
- Water stains
- Mold spots
Bathrooms without exhaust fans usually experience these problems much sooner.
Poor Surface Preparation
Paint sticks best to a clean, dry surface.
Unfortunately, many homeowners paint directly over soap residue, dust, grease, or old peeling paint. Even a small amount of contamination can prevent proper adhesion.
Bathrooms collect invisible layers of:
- Shampoo residue
- Hair spray
- Body oils
- Dust
- Cleaning product buildup
Without thorough cleaning, fresh paint cannot create a strong bond.
Using the Wrong Type of Paint
Not every interior paint is designed for high-moisture environments.
Flat wall paint may look attractive at first, but it absorbs moisture more easily than satin or semi-gloss finishes.
Bathrooms require paints specifically labeled as:
- Moisture-resistant
- Mold-resistant
- Mildew-resistant
- Washable
These paints contain stronger binders that stand up better to humidity.
Skipping Primer
Primer is often overlooked because it doesn’t seem as exciting as paint.
However, it’s one of the most important steps in any painting project.
Primer creates a stable surface that allows paint to grip properly. It also seals repaired drywall, covers stains, and improves the durability of the final finish.
Without primer, paint can begin peeling much sooner.
Hidden Water Leaks
Sometimes peeling paint isn’t caused by humidity at all.
A slow plumbing leak behind the wall or a leak around a window can continuously feed moisture into the drywall.
If you notice peeling paint in only one specific area, inspect nearby plumbing fixtures before repainting.
Look around:
- Shower valves
- Toilets
- Sink pipes
- Window frames
- Ceiling corners
Fix leaks first. Otherwise, repainting will only hide the symptoms temporarily.
Signs Your Bathroom Walls Need Repair
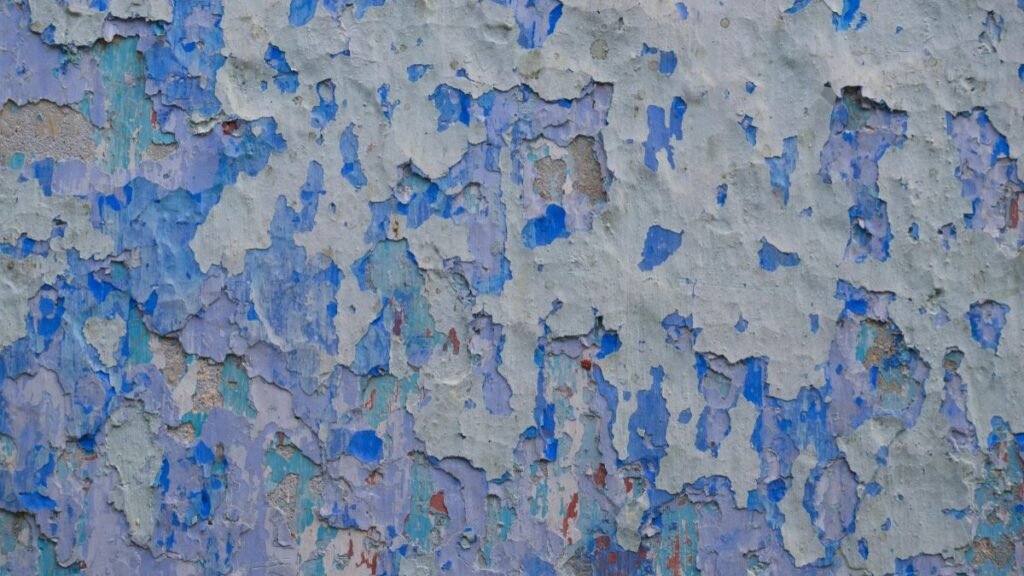
Peeling paint rarely appears overnight. Your bathroom usually gives several warning signs before the damage becomes severe.
Recognizing these signs early can save both time and money.
- Small paint bubbles
- Cracks near the ceiling
- Flaking paint around the shower
- Discolored patches
- Mold or mildew growth
- Damp drywall
- Paint lifting near trim or baseboards
The sooner you repair these problems, the easier the project becomes.
Tools and Materials You’ll Need
Having everything ready before you begin makes the repair process much smoother.
Essential Tools
- Paint scraper
- Putty knife
- Utility knife
- Sanding sponge
- Sandpaper (120- and 220-grit)
- Paint roller
- Angled paintbrush
- Paint tray
- Drop cloth
- Painter’s tape
- Safety glasses
- Dust mask
- Step ladder (if needed)
Materials
- Moisture-resistant primer
- Bathroom paint
- Joint compound or wall filler
- Mild detergent
- Microfiber cloths
- Bucket
- Clean sponge
- Caulk (if necessary)
Investing in quality materials may cost a little more upfront, but it usually leads to a smoother finish and a repair that lasts much longer.
How to Fix Peeling Paint on Bathroom Walls
Repairing peeling paint isn’t just about making the wall look nice again. It’s about removing every weak layer so the new paint has a solid foundation.
Follow these steps carefully for the best results.
Step 1: Identify and Fix the Source of Moisture
This is the step many people skip—and it’s the biggest reason paint peels again.
Before touching the damaged paint, inspect the bathroom carefully.
Check for:
- Plumbing leaks
- Roof leaks
- Broken caulk
- Poor ventilation
- Condensation around windows
Run your exhaust fan during every shower and leave it running for at least 20 minutes afterward.
If your bathroom doesn’t have an exhaust fan, consider installing one. Better airflow dramatically reduces future paint problems.
Step 2: Remove Every Loose Piece of Paint
Use a paint scraper or putty knife to remove all peeling paint.
Don’t stop when the damaged area looks clean.
Continue scraping until you reach paint that feels firmly attached to the wall.
A simple test is to gently press the edge of the scraper against nearby paint. If more paint lifts easily, keep removing it.
Trying to paint over weak paint almost guarantees another failure.
Step 3: Clean the Surface Thoroughly
Bathrooms collect more residue than most people realize.
Wash the wall with warm water and a mild detergent to remove dirt, soap scum, oils, and cleaning product buildup.
If mildew is present, clean it completely before moving forward.
Once the wall is clean, rinse away any remaining soap and allow everything to dry completely.
Painting over a damp wall traps moisture underneath the new coating, which can lead to peeling again.
Step 4: Sand the Edges Until They’re Smooth
After scraping, you’ll probably notice rough edges where the old paint meets the exposed drywall.
Use medium-grit sandpaper first, followed by fine-grit sandpaper.
Your goal isn’t to remove more paint—it’s to create a smooth transition that becomes invisible after repainting.
Take your time with this step.
A properly sanded surface often makes the difference between a repair that looks patched and one that looks professionally finished.
Step 5: Repair Any Damage
If scraping exposes dents, cracks, or small holes, apply a thin layer of joint compound.
Spread it evenly with a putty knife.
Allow it to dry according to the manufacturer’s instructions before sanding it smooth.
The finished surface should feel perfectly flat when you run your hand across it.
Step 6: Apply a High-Quality Primer
Even tiny bumps can become noticeable once fresh paint is applied.
How to Fix Peeling Paint on Bathroom Walls
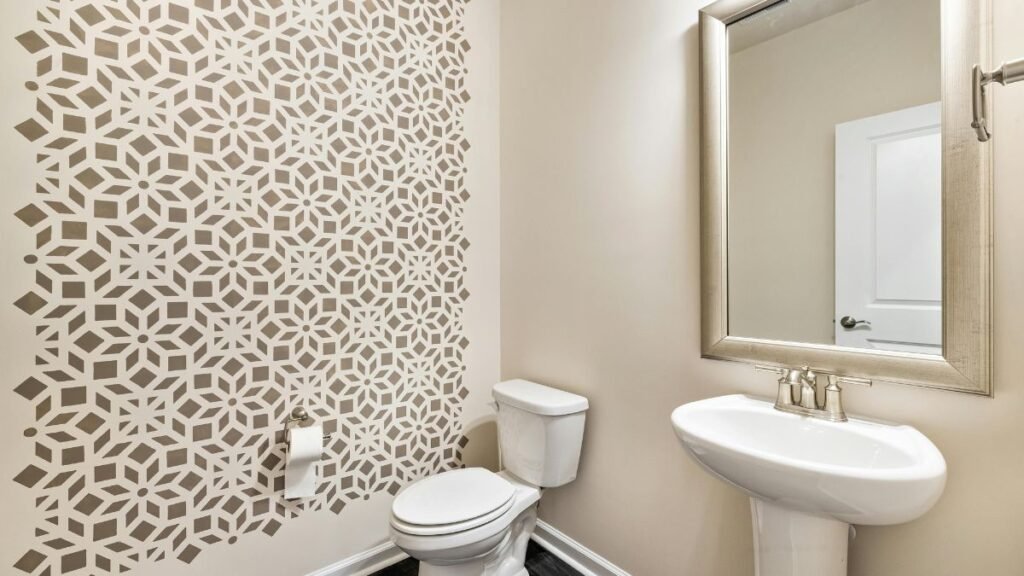
Once the repaired areas are smooth and completely dry, it’s time to apply primer. Although some people consider this step optional, it’s actually one of the biggest factors in creating a durable paint job.
A quality primer seals the repaired surface, improves paint adhesion, and creates an even base for the topcoat. It also helps prevent stains from showing through the new paint.
For bathrooms, choose a primer that is designed for high-humidity areas. Many products also offer mold- and mildew-resistant properties, which provide extra protection in damp environments.
Apply one thin, even coat with a roller, using a brush for corners and edges. Allow the primer to dry completely before moving on. Drying times vary by product, so always follow the manufacturer’s instructions.
Step 7: Paint the Wall Properly
Now comes the rewarding part—painting.
Instead of applying one heavy coat, use two thin coats. Thin coats dry more evenly, create a smoother finish, and are less likely to crack or peel over time.
Start near the ceiling and work your way down using steady, overlapping strokes. Use a roller for large surfaces and an angled brush for corners, trim, and tight spaces.
Allow the first coat to dry completely before applying the second. Rushing this step can trap moisture and reduce the durability of the finish.
If you’re painting the entire bathroom, work in sections while maintaining a wet edge to avoid visible lap marks.
Choosing the Best Paint for a Bathroom
Not every interior paint performs well in a humid environment. Bathrooms require paints that can handle frequent exposure to moisture without breaking down.
Look for paints labeled as:
- Moisture-resistant
- Mold-resistant
- Mildew-resistant
- Scrubbable
- Washable
The paint finish also matters.
| Finish | Best For | Pros | Cons |
| Flat | Low-moisture rooms | Hides imperfections | Poor moisture resistance |
| Eggshell | Light-use bathrooms | Soft appearance | Less durable |
| Satin | Most bathrooms | Easy to clean and moisture resistant | Slightly highlights wall flaws |
| Semi-Gloss | High-humidity bathrooms | Very durable and water resistant | Shows surface imperfections more easily |
For most homes, satin provides the best balance between appearance, durability, and ease of maintenance. Bathrooms with frequent showers may benefit from a semi-gloss finish.
Tips to Keep Bathroom Paint Looking New
Repairing peeling paint is only part of the solution. Preventive maintenance can add years to the life of your paint.
Here are several habits that make a noticeable difference:
- Run the exhaust fan during every shower.
- Leave the fan on for at least 20–30 minutes afterward.
- Open a window when weather permits.
- Wipe heavy condensation from walls and mirrors.
- Repair plumbing leaks as soon as they appear.
- Replace cracked or damaged caulk around tubs, showers, and sinks.
- Clean painted walls every few months using a soft cloth and mild cleaner.
- Avoid harsh chemicals that can weaken the paint finish.
- Check ceilings and corners regularly for signs of moisture.
Small maintenance tasks today can help you avoid major repairs later.
Common Mistakes Homeowners Make
Even experienced DIYers sometimes make mistakes that shorten the life of a paint job.
Avoid these common problems:
Painting Over Damaged Paint
New paint cannot hold onto loose paint underneath. Always remove every weak section before repainting.
Skipping Surface Cleaning
Soap residue, dust, and oils create a barrier between the wall and the new paint. Cleaning the surface thoroughly improves adhesion.
Ignoring Moisture Problems
If the underlying moisture issue isn’t fixed, the paint will likely peel again, no matter how carefully you paint.
Using Low-Quality Materials
Cheap primer and paint may save money initially, but they often require repainting much sooner. Investing in quality products usually reduces long-term costs.
Painting Before the Wall Is Dry
Patience matters. Even slight moisture trapped inside the wall can lead to bubbling or peeling after the paint cures.
Applying Thick Coats
Heavy coats take longer to dry and may trap moisture beneath the surface. Multiple thin coats create a stronger, more professional-looking finish.
DIY Repair vs. Hiring a Professional
Some peeling paint projects are simple enough for a weekend DIY repair. Others may require professional help.
| DIY Repair | Hire a Professional |
| Small peeling areas | Large sections of damaged drywall |
| Minor cosmetic damage | Hidden plumbing leaks |
| No mold present | Extensive mold growth |
| Drywall is solid | Soft or crumbling drywall |
| Good ventilation | Ongoing moisture problems |
If peeling paint continues returning after multiple repairs, it’s a sign that an underlying issue needs professional attention.
Expert Advice for Long-Lasting Results
Professional painters agree that preparation determines the quality of the final finish.
Instead of rushing into painting, spend more time cleaning, scraping, sanding, and priming. These steps may not seem exciting, but they’re what make the difference between a repair that lasts one year and one that lasts ten.
It’s also worth checking your bathroom’s humidity level. A small digital hygrometer is inexpensive and can help you monitor indoor moisture. Ideally, bathroom humidity should remain between 30% and 50%. If humidity regularly stays above this range, consider upgrading your ventilation system or using a dehumidifier.
Another smart habit is to inspect painted walls every few months. Catching a tiny bubble or hairline crack early is much easier than repairing widespread peeling later.
Frequently Asked Questions
Can I paint directly over peeling paint?
No. Loose paint must be removed completely before repairing and repainting the surface. Painting over damaged paint usually leads to more peeling.
Why does bathroom paint keep peeling?
The most common causes include high humidity, poor ventilation, water leaks, improper surface preparation, and skipping primer.
How long should I wait before taking a shower after painting?
Most manufacturers recommend waiting at least 24 to 48 hours before exposing freshly painted walls to heavy steam. Always check the product label for curing recommendations.
Which paint finish works best in a bathroom?
Satin and semi-gloss finishes are the most popular choices because they resist moisture, clean easily, and offer good durability.
Can mold cause paint to peel?
Yes. Mold and mildew often develop where excess moisture is present. Over time, they can weaken the paint’s bond with the wall, causing bubbling and peeling.
Should I use primer if I’m only repairing a small area?
Yes. Primer helps the repaired section blend with the surrounding wall and improves paint adhesion, even for small patches.
Conclusion
Learning How to Fix Peeling Paint on Bathroom Walls is more than a cosmetic improvement—it’s an important part of protecting your home from moisture damage. A successful repair starts with identifying the source of the problem, whether it’s excess humidity, poor ventilation, or a hidden leak.
By taking the time to prepare the surface properly, using a quality primer, and applying moisture-resistant paint, you can create a finish that looks great and lasts for years. Regular maintenance, good airflow, and prompt attention to small issues will help keep your bathroom walls in excellent condition while reducing the need for future repairs.









One Comment