A damaged drywall corner can make an otherwise clean room look unfinished. A small dent, crack, chipped edge, or loose corner bead can quickly become more noticeable, especially in hallways and other high-traffic areas.
The good news is that learning how to repair damaged drywall corners does not require advanced construction skills. With a few basic tools, the right materials, and some patience, most minor corner damage can be repaired at home.
The key is to identify what is actually damaged. A shallow dent needs a different approach from a cracked corner bead or a section of drywall that has broken away.
This guide explains how to inspect the damage, choose the right repair method, apply joint compound, sand the area, and create a finish that blends with the rest of the wall.
Safety note: If the repair involves an older painted home, check for lead-paint risks before sanding or disturbing the surface. In the United States, EPA rules apply to many paid renovation projects that disturb lead-based paint in homes and child-occupied facilities built before 1978.
What Is a Drywall Corner?
A drywall corner is the point where two sheets or surfaces of drywall meet, usually at an outside corner. These corners are normally protected and shaped with corner bead, which creates a straight, durable edge.
Corner bead can be made from metal, vinyl, or paper-faced materials. It is covered with joint compound during the finishing process, then sanded and painted.
When a corner is hit by furniture, a vacuum cleaner, moving boxes, or normal household activity, the bead or the drywall underneath it can become damaged.
Typical problems include:
- Small dents
- Chipped drywall
- Cracked joint compound
- Loose corner bead
- Bent metal corner bead
- Broken or exposed bead
- Deep holes
- Cracks running along the corner
A minor dent is usually a simple patch. However, a badly bent or loose corner bead may need to be removed and replaced.
Assess the Damage Before You Start
Before reaching for your putty knife, look closely at the corner.
Run your fingers gently over the damaged area. Check whether the corner feels solid or moves when you press it.
Then determine which of these situations best matches your wall:
| Type of damage | Best repair method | Difficulty |
| Small dent | Joint compound | Easy |
| Small chip | Patch with compound | Easy |
| Hairline crack | Remove loose material and fill | Easy |
| Cracked corner bead | Repair or replace bead | Moderate |
| Bent metal bead | Replace damaged section | Moderate |
| Large missing drywall area | Patch drywall first | Moderate |
| Loose or badly damaged corner | Replace bead and refinish | Moderate |
If the drywall is soft, swollen, wet, or crumbling, do not simply cover it with compound. Find and fix the source of the moisture first.
Likewise, if the corner is repeatedly cracking after previous repairs, there may be movement behind the wall or an installation problem that needs closer inspection.
Tools and Materials You Will Need
For a basic drywall corner repair, gather the following:
- Utility knife
- 4- to 6-inch drywall knife
- 8- to 12-inch drywall knife
- Sanding sponge or fine-grit sandpaper
- Joint compound
- Drywall primer
- Matching paint
- Clean cloth or sponge
- Putty knife
- Corner bead, if replacement is necessary
- Tin snips, if cutting metal or suitable bead
- Screws, if loose drywall needs securing
- Dust mask and eye protection
For a small dent, you may only need joint compound, a drywall knife, sandpaper, primer, and paint.
If you need to replace a section of paper-faced corner bead, USG recommends cutting out the damaged section, fitting a replacement piece, bedding it in joint compound, and applying additional compound over the bead.
How to Repair Damaged Drywall Corners
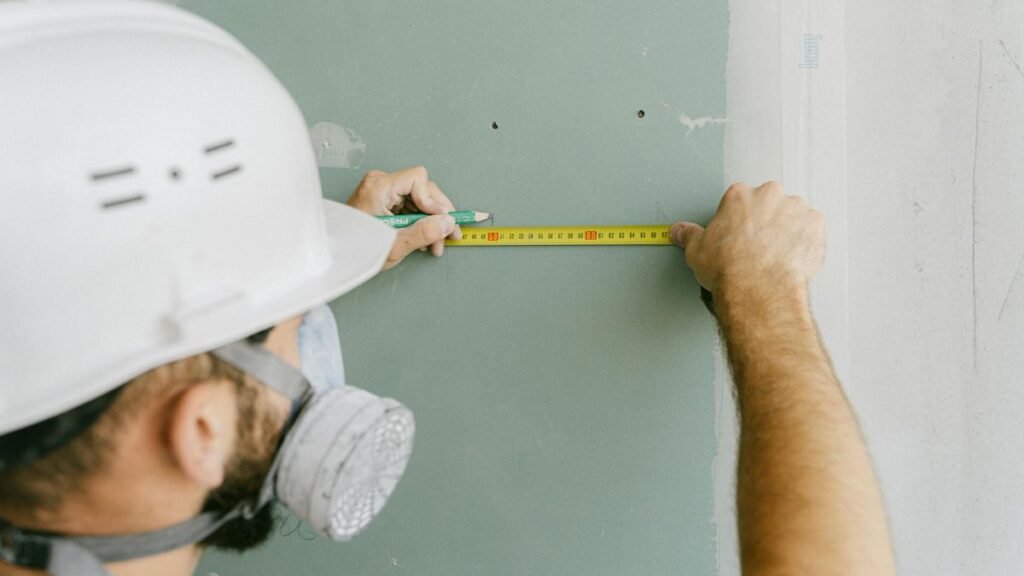
The exact process depends on the damage. For a small dent or chipped area where the corner bead is still straight and firmly attached, use these steps.
Step 1: Remove Loose Material
Start by cutting or scraping away loose paint, paper, and dried joint compound.
Do not leave loose material underneath your new repair. It can cause the fresh compound to crack or fall away later.
Use a utility knife carefully. You only need to remove material that is loose or damaged.
Step 2: Clean the Area
Wipe away dust and debris with a slightly damp cloth.
Allow the surface to dry before applying joint compound.
A clean surface helps the compound bond properly and makes it easier to see the shape of the corner.
Step 3: Apply the First Coat of Joint Compound
Load a small amount of joint compound onto your drywall knife.
Press it into the damaged area. Keep the first coat fairly thin rather than trying to fill a deep hole in one pass.
For a corner, work on one side at a time. Then smooth the compound across the corner with controlled strokes.
Do not worry if the repair does not look perfect yet. The goal of the first coat is to fill the damage and create a solid base.
Step 4: Let It Dry
Allow the compound to dry according to the manufacturer’s instructions.
Drying time varies depending on the product, room temperature, humidity, and thickness of the application.
Avoid sanding or adding another coat while the compound is still soft.
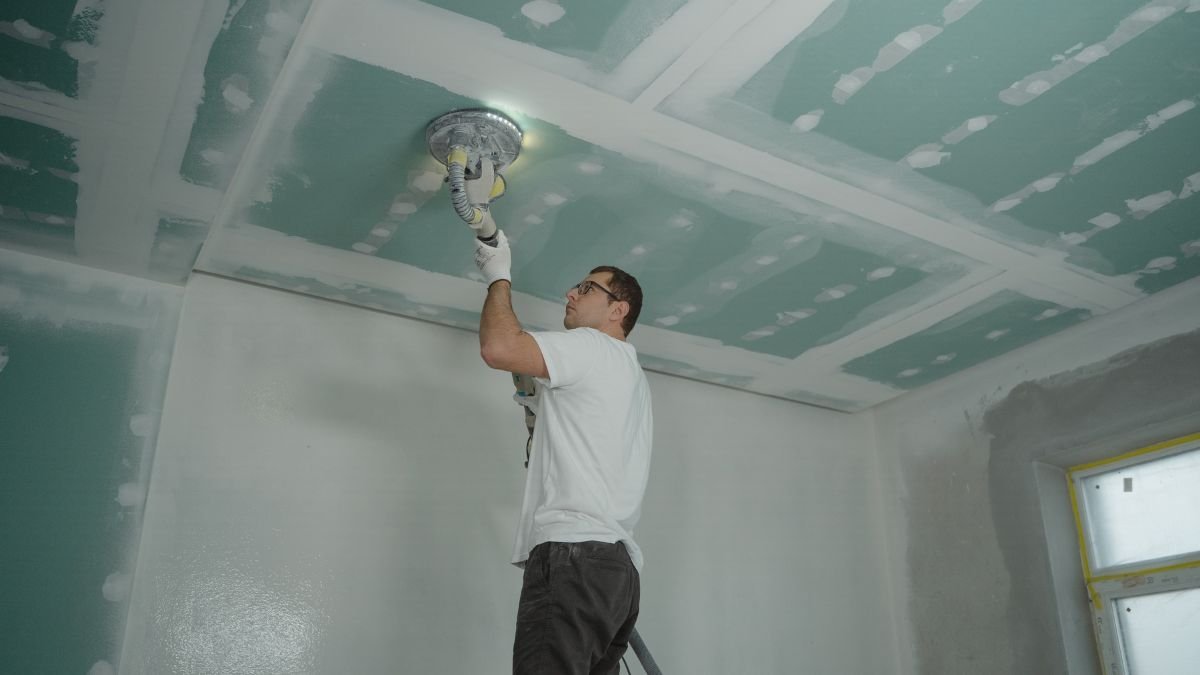
Step 5: Sand Lightly
Once dry, use a fine sanding sponge to smooth high spots.
Be careful near the corner. Aggressive sanding can expose the bead or damage the surrounding drywall paper.
Wipe away the dust before applying another coat.
Step 6: Apply a Second Coat
Apply a wider, thinner coat over the repaired area.
This coat should extend beyond the original damage. Feather the edges so the repair gradually blends into the existing wall.
The wider your feathered edges, the less noticeable the finished repair is likely to be.
Step 7: Sand and Inspect
Let the second coat dry completely.
Sand lightly and inspect the corner from several angles. Shine a flashlight across the wall if necessary. Side lighting can reveal ridges and shallow depressions that are hard to see under normal room lighting.
If you still see a low spot, apply another thin coat rather than trying to sand everything flat.
Step 8: Prime and Paint
Once the repair is smooth, remove all sanding dust.
Apply drywall primer to the repaired area. Primer helps seal the joint compound and creates a more even surface for paint.
After the primer dries, apply matching paint.
For the best result, blend the new paint beyond the repaired area rather than creating a hard rectangular paint edge.
How to Repair a Damaged Corner Bead
Corner bead protects the outside corner and helps keep it straight. If the bead itself is bent, loose, or badly cracked, simply adding joint compound usually will not solve the problem.
First, remove the damaged section.
Step 1: Cut Out the Damaged Bead
Use a utility knife to cut around the damaged area.
If the bead is metal, use appropriate cutting tools such as tin snips. Work carefully because cut metal edges can be sharp.
Remove only the damaged section when the surrounding bead is still solid.
Step 2: Prepare the Replacement Piece
Measure the opening and cut a new piece of matching corner bead.
The replacement should fit neatly without forcing it into place.
If you are repairing paper-faced bead, make sure the new piece is positioned correctly before applying compound.
Step 3: Apply Joint Compound
Spread a layer of joint compound over the exposed corner.
Press the replacement bead into position.
For paper-faced bead, USG’s repair guidance recommends bedding the bead into joint compound and sealing the exposed area with a drywall knife.
Step 4: Cover the Bead
Apply another layer of joint compound over the replacement bead.
Use a wider drywall knife to feather the edges into the existing wall.
Let it dry completely.
Step 5: Sand and Repeat
Sand lightly, then apply another thin coat if needed.
Most professional-looking repairs come from several thin coats rather than one thick coat.
Once the corner is smooth and straight, prime and paint it.
How to Repair Cracks in Drywall Corners
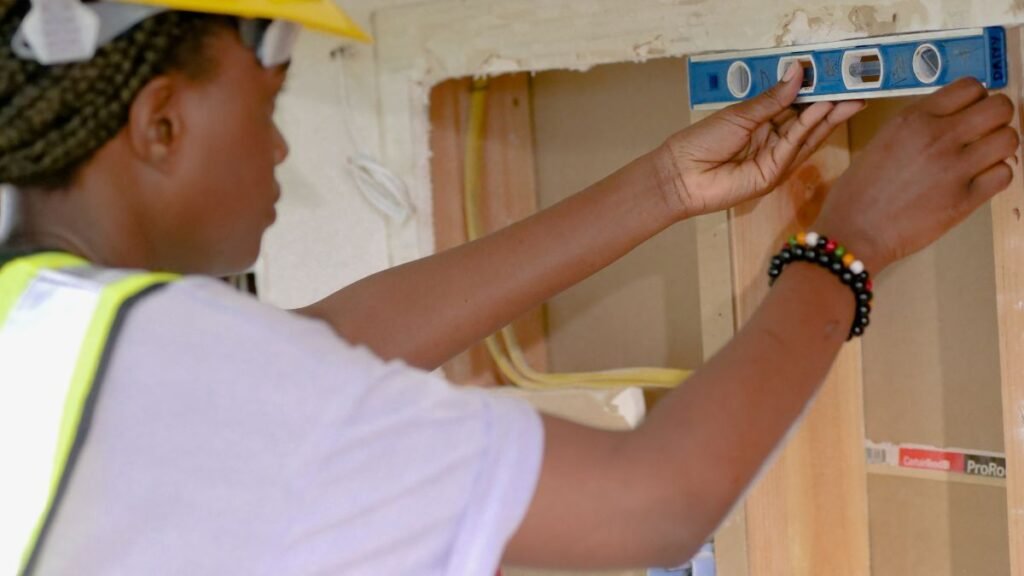
Cracks are common around drywall corners. Some are caused by impact, while others can result from normal building movement.
Start by determining whether the crack is only in the surface compound or whether the drywall or bead is moving.
For a small surface crack:
- Remove loose compound along the crack.
- Clean away dust.
- Apply a thin coat of joint compound.
- Allow it to dry.
- Sand lightly.
- Apply a second coat.
- Prime and paint.
If the crack returns quickly, becomes wider, or extends significantly along the wall or ceiling, stop treating it as a simple cosmetic repair.
A recurring crack can indicate movement or another underlying issue. In that situation, it is better to investigate the cause before repeatedly filling the same crack.
How to Get a Smooth Finish
The repair itself is only half the job. Finishing determines whether people notice the repair.
Here are several techniques that help:
Use Thin Coats
Thick compound takes longer to dry and is harder to sand evenly.
Several thin coats give you more control.
Feather the Edges
Do not stop your compound directly at the edge of the damaged area.
Instead, spread it farther out and gradually reduce the pressure on your knife. This creates a feathered edge that blends into the wall.
Keep the Corner Straight
Use your drywall knife to maintain a clean corner line.
If the original corner is badly misshapen, replacing the bead may be easier than trying to recreate the shape with compound.
Do Not Over-Sand
It is easy to get carried away with sanding.
Stop when the surface feels smooth and the transition between the repair and wall is difficult to detect by touch.
Match the Existing Texture
A smooth repair can stand out on a textured wall.
If your wall has orange peel, knockdown, or another texture, the repaired area may need to be textured before painting.
Common Drywall Corner Repair Mistakes
Even a simple drywall repair can go wrong. Avoid these common problems.
Applying Too Much Compound
A large blob of compound creates more sanding work and can make the corner look rounded.
Use thin layers instead.
Ignoring Loose Bead
If the corner bead is loose, compound alone will not provide a lasting repair.
Secure or replace the damaged section first.
Sanding Too Aggressively
Heavy sanding can expose paper, damage the corner, or create a depression.
Use light pressure and check your work often.
Painting Before Priming
Joint compound is porous. If you paint directly over it, the repaired area can absorb paint differently from the surrounding wall.
Primer helps create a more uniform finish.
Failing to Fix Moisture
If the drywall has water damage, repair the source before repairing the surface.
Otherwise, the new drywall compound may crack, soften, or fail again.
Skipping Dust Control
Drywall sanding creates fine dust.
Cover nearby furniture and flooring, keep dust contained, and clean the area carefully when finished.
For older painted surfaces, take additional precautions. EPA guidance warns that sanding, cutting, and similar renovation activities can create hazardous lead dust in homes with lead-based paint.
Practical Tips for a Better Repair
A few simple habits can make the job much easier.
- Use good lighting. Shadows reveal dents and ridges.
- Work slowly. Rushing usually creates more sanding.
- Keep your tools clean. Dried compound can leave unwanted lines.
- Use the right knife size. A small knife is useful for filling; a wider knife is better for feathering.
- Allow each coat to dry fully.
- Do not hide serious damage. Fix structural or moisture problems first.
- Buy matching corner bead. Different profiles may not line up properly.
- Prime repaired areas before painting.
- Test your paint color. Old wall paint may have changed color over time.
If you are unsure whether the damage is cosmetic or structural, consider having an experienced drywall professional inspect it.
When Should You Hire a Professional?
Most small dents and chips are suitable DIY projects.
However, professional help may be worthwhile when:
- A large section of drywall is damaged.
- The wall has significant water damage.
- The corner repeatedly cracks.
- The drywall is loose over a large area.
- There may be electrical or plumbing damage behind the wall.
- You need to match a complicated wall texture.
- The repair is in a large or highly visible area.
- The building has older paint and you are unsure about lead hazards.
In a U.S. home built before 1978, paid renovation work that disturbs painted surfaces may fall under EPA’s Renovation, Repair and Painting requirements. EPA recommends that homeowners use a lead-safe certified contractor for applicable projects.
Frequently Asked Questions
1. Can I repair a damaged drywall corner without replacing the corner bead?
Yes, if the corner bead is still straight, firmly attached, and undamaged. Small dents and chips can usually be filled with joint compound.
If the bead is bent, loose, badly cracked, or exposed over a large area, replacement is usually the better option.
2. What is the best compound for drywall corner repair?
A quality premixed or setting-type joint compound can work well for drywall corner repairs.
For small DIY repairs, premixed joint compound is convenient because it is ready to use. Setting-type compound can be useful when you need faster working or drying times, but it requires more attention to mixing and application.
3. How many coats of joint compound do I need?
Two or three thin coats are common for a clean repair.
The exact number depends on how deep the damage is and how smoothly each coat is applied. It is usually better to use several thin coats than one thick coat.
4. Why does my drywall corner keep cracking?
A recurring crack may be caused by movement, a loose corner bead, poor previous repairs, or another underlying issue.
If the crack repeatedly returns after proper repairs, investigate the cause rather than simply adding more joint compound.
5. Should I sand between coats of joint compound?
Light sanding can help remove ridges and high spots between coats.
However, you do not need to aggressively sand every layer. Remove obvious imperfections and keep the surface clean before applying the next coat.
6. How do I make a repaired drywall corner look invisible?
The most important steps are feathering the compound, keeping the corner straight, sanding carefully, using primer, and matching the wall texture and paint.
Good lighting also helps you find imperfections before painting.
7. Can I repair drywall corners if the wall has texture?
Yes. Repair the damaged drywall first, then reproduce the existing texture before painting.
The exact technique depends on the type of texture on the wall.
8. Is drywall corner repair a good DIY project?
Small dents, chips, and surface cracks are generally manageable DIY projects.
More serious damage, recurring cracks, water damage, or large sections of broken drywall may require professional assessment.
Conclusion
Learning how to repair damaged drywall corners is a useful DIY skill that can save you the cost of a small repair call. The process is straightforward when you take the time to inspect the damage and use the correct repair method.
For a small dent, you may only need joint compound and a little sanding. If the corner bead is damaged, however, remove the bad section and install a suitable replacement before refinishing the area.
The biggest secret to a professional-looking result is patience. Apply thin coats, allow them to dry, feather the edges, and inspect the corner under good lighting before you paint.
If the damage is large, the wall is wet, or the same crack keeps returning, do not simply cover it up. Find the underlying problem or have a qualified professional take a look.
Ready to fix that damaged corner? Gather your drywall knife, joint compound, sanding sponge, and primer, then start with a careful inspection. A little preparation can turn a battered corner into a clean, finished wall again.