Small cracks can make an otherwise clean room look old and neglected. The good news is that many minor cracks are easy to repair yourself. If you know how to fix small cracks in interior walls, you can often complete the job with a few basic tools and some patience.
Small cracks commonly appear as a home settles, drywall joints move slightly, or changes in temperature and humidity affect building materials. Most hairline cracks are not serious. However, some cracks can point to moisture problems or structural movement.
In this guide, you will learn how to identify common wall cracks, prepare the surface, fill the crack, sand it smooth, and paint the repaired area. You will also learn when a crack is a sign that you should call a professional.
Why Do Small Cracks Appear in Interior Walls?
Before you repair a crack, it helps to understand what caused it. A small crack does not always mean there is a major problem.
Common causes include:
- Normal settling of a house
- Small movements in drywall or plaster
- Temperature changes
- Changes in indoor humidity
- Poorly finished drywall joints
- Shrinkage of joint compound
- Minor movement around doors and windows
- Previous repairs that were not properly reinforced
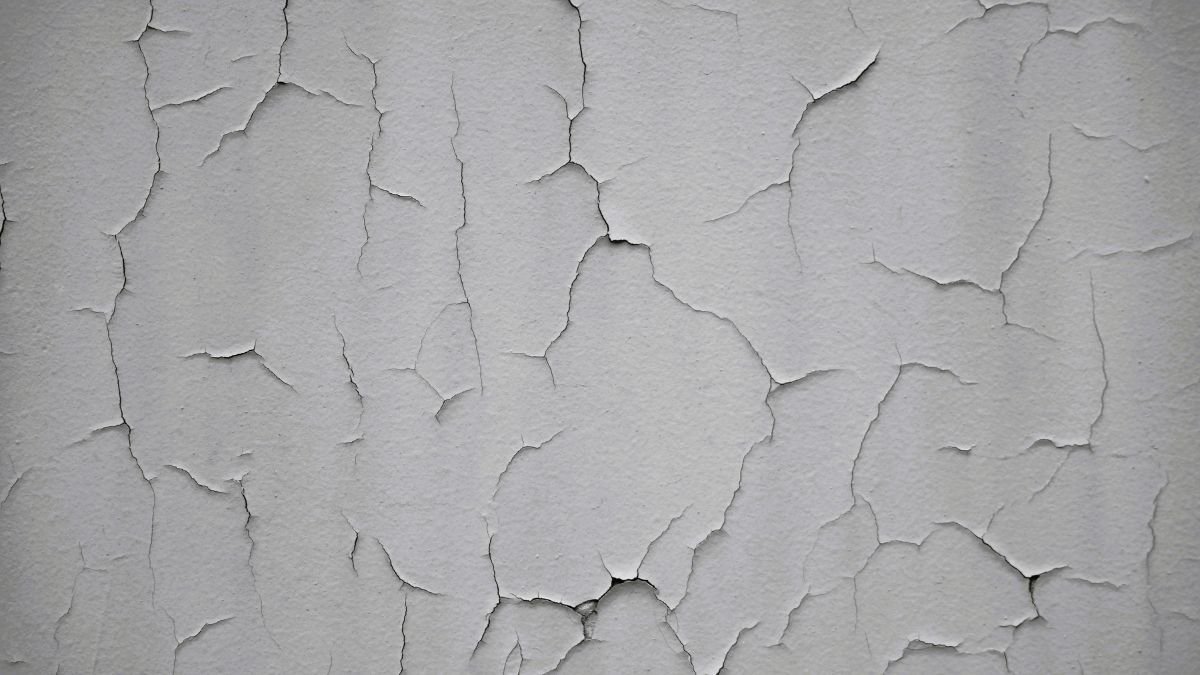
Hairline cracks are very thin cracks that look similar to a strand of hair. They often occur in drywall, plaster, or paint and may be caused by normal movement of the building materials.
The location and shape of the crack matter. A short, narrow crack that has stayed the same size for a long time is usually less concerning than a wide crack that continues to grow.
Are Small Wall Cracks a Serious Problem?
Many small interior wall cracks are cosmetic. They can usually be repaired with spackle, joint compound, or an appropriate filler.
Still, you should not automatically cover every crack with filler. Take a moment to inspect it first.
Look for warning signs such as:
- A crack that is getting wider
- A crack wider than about 1/4 inch
- Long diagonal cracks
- Cracks that extend through several areas
- Doors or windows that suddenly stick
- Uneven or bulging walls
- Signs of water damage
- Repeated cracks after previous repairs
If you notice several of these signs, consider having the wall inspected by a qualified building or structural professional before making a cosmetic repair.
Tools and Materials You Need
You do not need a large toolbox for most small wall repairs.
Basic tools
- Putty knife or small drywall knife
- Sanding sponge or fine-grit sandpaper
- Utility knife
- Clean cloth
- Paintbrush or small roller
- Safety glasses
- Dust mask
Repair materials
Choose the material based on your wall and the size of the crack.
| Crack Type | Recommended Material | Difficulty |
| Very small hairline crack | Lightweight spackle | Easy |
| Small drywall crack | Joint compound | Easy |
| Crack at drywall joint | Joint compound and drywall tape | Moderate |
| Small plaster crack | Suitable plaster repair compound | Moderate |
| Larger or recurring crack | Professional assessment | Advanced |
Always follow the instructions on the repair product you use. Drying times can vary depending on the product, temperature, and humidity.
How to Fix Small Cracks in Interior Walls
For a typical small crack in a painted drywall or plaster wall, follow these steps.
1. Inspect the Crack
Start by looking closely at the crack.
Check its length, width, location, and shape. Press gently around the area to see if the surface feels loose. If you see dampness, staining, mold growth, or damaged plaster, find and address the underlying problem before repairing the crack.
Do not simply fill a crack caused by an active leak. The repair may fail again.
2. Clean the Area
Remove dust, loose paint, and small pieces of damaged material around the crack.
Use a dry or slightly damp cloth to clean the surface. Let the wall dry completely before applying any repair compound.
A clean surface helps the filler bond properly.
3. Open the Crack Slightly if Needed
This may sound strange, but very narrow cracks sometimes need to be opened slightly before filling.
Use a utility knife to carefully create a shallow V-shaped groove along the crack. The goal is not to make a large hole. You simply want to remove loose material and create a stable surface for the filler.
Skip this step if the product instructions specifically recommend another method.
Wear eye protection when scraping or cutting wall material.
4. Apply the Filler
Use a clean putty knife to press a thin layer of spackle or joint compound into the crack.
Push the material firmly into the opening. Then scrape away excess compound so the repair remains as flat as possible.
Avoid applying one very thick layer. Thick filler can take longer to dry and may shrink or crack as it cures.
5. Let It Dry
Allow the repair compound to dry according to the manufacturer’s instructions.
Do not rush this stage. Sanding or painting over material that has not dried properly can ruin an otherwise good repair.
If the compound shrinks slightly, apply a second thin coat.
6. Sand the Repair
Once completely dry, gently sand the area with fine-grit sandpaper or a sanding sponge.
Use light pressure. Your goal is to blend the repaired area into the surrounding wall, not to remove a large amount of material.
Run your hand lightly over the area. It should feel smooth with no obvious ridge.
7. Remove the Dust
Wipe the repaired area with a clean cloth to remove sanding dust.
Let the surface settle before painting. Dust left behind can affect paint adhesion and create a rough finish.
8. Prime and Paint
Apply primer if needed, especially if the repair is noticeable or the filler has a different texture from the wall.
After the primer dries, apply matching paint. Feather the paint slightly beyond the repaired area to make the transition less obvious.
For the best color match, use leftover paint from the original job if you have it.
How to Repair Hairline Cracks
Hairline cracks can be easier to repair, but preparation still matters.
First, remove loose paint and dust. Then apply a thin layer of flexible filler or a suitable wall repair compound.
For a stable, very fine crack, you may not need to create a deep groove. Follow the instructions for your chosen product.
After the filler dries, sand lightly and inspect the repair under good lighting. If you can still see the crack, apply another thin coat rather than one heavy coat.
This approach creates a smoother finish and reduces the chance of the repair standing out after painting.
How to Fix Cracks in Drywall Joints
Cracks along drywall seams need a little more attention.
If the crack follows a drywall joint, simply filling the surface may only provide a temporary repair. The joint may need new tape and several thin coats of joint compound.
A basic repair involves:
- Removing loose joint compound and damaged tape.
- Cleaning the exposed joint.
- Applying new drywall tape.
- Covering the tape with a thin layer of joint compound.
- Allowing it to dry.
- Adding additional thin coats as needed.
- Sanding the area smooth.
- Priming and painting.
If the drywall is moving significantly or the same joint keeps cracking, the underlying installation may need to be corrected.
How to Paint After Repairing a Wall Crack
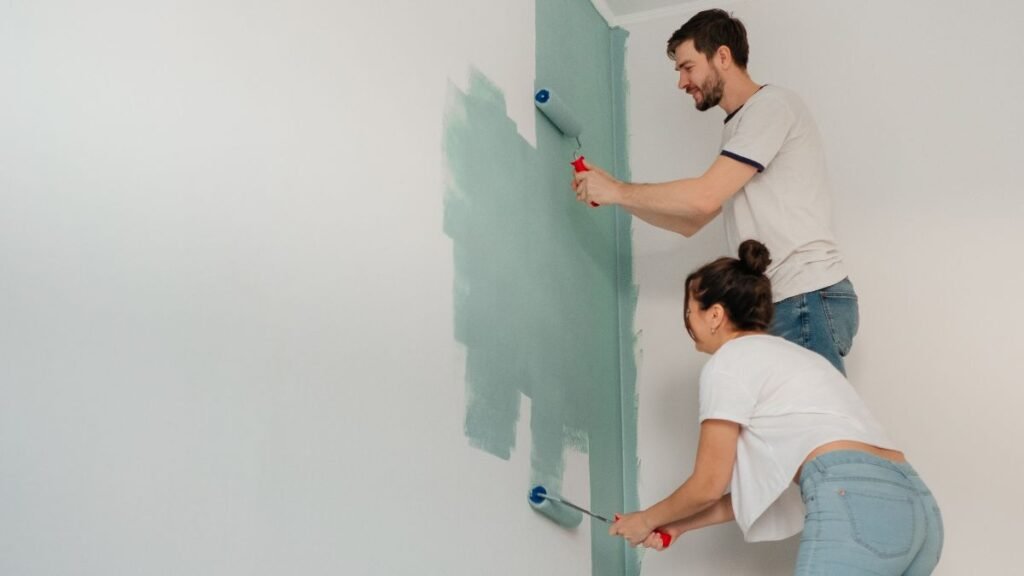
A good repair can still look poor if the paint finish does not match.
Before painting, make sure the repaired area is smooth and completely dry.
Use primer when appropriate. Primer can help prevent the repaired section from absorbing paint differently from the surrounding wall.
For small touch-ups, use the same paint sheen as the existing wall. Flat, eggshell, satin, and semi-gloss finishes reflect light differently, so using the wrong finish can make a repair easy to spot.
If the wall color has faded over time, even the original paint may not match perfectly. In that case, repainting the entire wall can produce a more even result.
Practical Tips for a Better Wall Repair
Keep these tips in mind when repairing small cracks:
- Repair the cause before repairing the appearance.
- Work on a clean, dry surface.
- Apply several thin coats instead of one thick coat.
- Allow each coat to dry fully.
- Sand gently.
- Use primer when appropriate.
- Match the paint color and sheen carefully.
- Inspect the finished wall in natural light.
- Keep leftover paint for future touch-ups.
Patience makes a big difference. Most visible repair marks come from rushing the drying, sanding, or painting stages.
Common Mistakes to Avoid
Filling a Dirty Crack
Dust and loose material can prevent filler from bonding properly. Always clean and prepare the area first.
Using Too Much Filler
A thick blob of compound creates more sanding work and may shrink as it dries. Thin coats are easier to control.
Painting Too Soon
If the compound is still damp, the paint may produce an uneven finish or show the repair later.
Ignoring Moisture
A crack near a damp patch, stain, or leaking pipe should not be treated as a simple cosmetic problem. Find the source of the moisture first.
Repeating the Same Repair
If the same crack keeps coming back, the problem may not be the filler. Continued movement, moisture, or a poorly supported joint could be responsible.
When Should You Call a Professional?
DIY repair works well for many small cosmetic cracks. However, some situations deserve professional attention.
Contact a qualified professional if:
- The crack is wide or rapidly growing.
- You see several significant cracks in different areas.
- The wall is bulging or visibly moving.
- There are signs of water intrusion.
- Doors and windows have suddenly become difficult to open or close.
- A crack appears alongside other signs of building movement.
- You are unsure whether the wall is structural.
- Previous repairs have failed repeatedly.
If you rent your home, report significant or recurring cracks to your landlord or property manager rather than making major repairs yourself.
FAQs
1. What is the easiest way to fix small cracks in interior walls?
For a stable hairline or small cosmetic crack, clean the area, apply a suitable wall filler or spackle, let it dry, sand it smooth, and repaint the area.
2. Should I use spackle or joint compound for wall cracks?
Spackle works well for many small repairs and nail holes. Joint compound is commonly used for drywall seams and larger surface repairs. Choose a product designed for the type and size of repair you are making.
3. Can I paint directly over a repaired crack?
It is usually better to make sure the filler is completely dry, sand it smooth, and use primer when appropriate before painting. This helps create a more even finish.
4. Why do my wall cracks keep coming back?
Recurring cracks can result from continued movement, moisture, poorly finished drywall joints, or another underlying issue. If a repaired crack repeatedly returns, investigate the cause instead of repeatedly covering it.
5. Are hairline cracks in walls normal?
Hairline cracks can occur because of normal settling and small movements in building materials. However, a crack that grows, becomes wide, or appears with other signs of movement should be professionally assessed.
6. How long does wall crack filler take to dry?
Drying time depends on the product, thickness of the application, temperature, and humidity. Always follow the manufacturer’s stated drying time rather than relying on a fixed number of hours.
7. Can I fix plaster wall cracks the same way as drywall cracks?
Not always. Plaster and drywall have different materials and repair methods. Use a repair product suitable for plaster and follow the recommended preparation steps.
8. Should I worry about a crack near a window or door?
Small cracks can develop around openings because these areas experience movement. However, a growing, wide, or recurring crack should be inspected, particularly if the door or window has also become difficult to operate.
Conclusion
Learning how to fix small cracks in interior walls is a useful DIY skill. For many minor cracks, the process is straightforward: inspect the damage, clean the surface, apply the right filler, let it dry, sand it smooth, and repaint.
The most important step is knowing when a crack is more than a cosmetic issue. A growing crack, moisture damage, significant movement, or several related cracks may require professional inspection.
Take your time, use the right materials, and do not try to hide an underlying problem with paint. A careful repair will not only look better but also last longer.